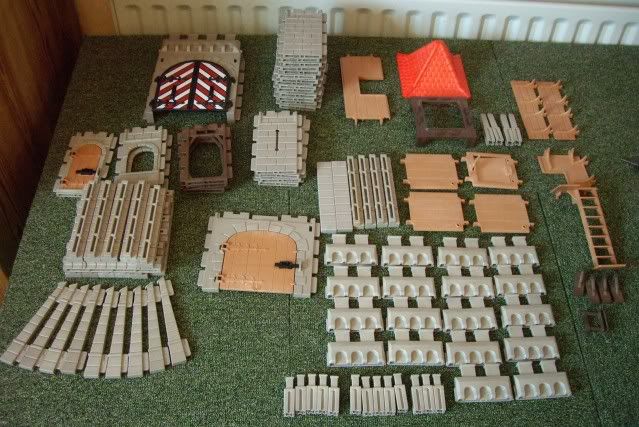
Building Parts required:
30 07 6080 - Wall Connector, T-junction, Triple-Female x17
30 07 6090 - Wall End, Male Connector x9
30 07 6120 - Wall, Flat, Plain, Double-Male Connectors x14 or 16
30 07 6680 - Wall, Flat with Arrow-Slit x4 or 2 (interchangeable with the above)
You need 18 total of these wall units either solid or with arrow slits, my set came with 4 arrow slit walls but only 2 are shown on the plan.
30 07 6670 - Wall Connector, Corner, Double-Female x4
30 07 6700 - Wall, Flat, with Arched Doorway x1
30 07 6710 - Wall, open frame, 1 unit wide x2
30 07 6720 - Castle wall, 1 unit wide, arch-top window x2
30 07 6770 - Battlement connector, new-style (flat bottom) x14 (my pic shows 13, I'd dropped one on the floor)
30 07 6800 - Wall, 2 units wide, large arch-top doorway x1
30 07 6810 - Battlement, scalloped front, 1 unit wide x18
30 07 8780 - Wall, 2-wide, arch and hinges for castle doors x1
30 07 8780 - Wall, 2-wide, arch and hinges for castle doors x1
30 07 8790 - Roof support for square peaked roof x1
30 07 8800 - Roof support, tall battlement connector x4 used for rear tower
30 07 8890 - Roof, shingled, square, pointed in centre x1
30 02 8660 - Door, Arch-top, 2-wide x1
30 02 8670 - Door, Arch-top x1
30 02 8740 - Filler for Wall ('Toast') x as many as you like - I don't bother with them
30 02 8760 - Stairs with top platform x1
30 07 6100 - Wall Connector, Flat, Double-Female x2
30 07 6150 - Floor, rectangular, 1-wide x3
30 07 6210 - Railing, small, clips onto floor x1
30 07 6820 - Floor, 2x2 units, square cutout in corner x1
30 07 8850 - Weathercock x1
30 60 0730 - Latch, sliding, for door x2
30 60 3440 - Floor, 1x1 units, large trap doorway x1 (3 pieces under one item code)
30 61 3460 - Bar and hooks to lock wooden doors x1
30 66 7880 - Doors, wooden, pair of half-arches x2
30 07 7040 - Hinge clip x8
30 02 9150 - Floor connector, 1/2-unit long x4
30 02 9160 - Railing, wooden x2 (N.B. Missing from my set, not vital but nice if you have them)
30 02 9170 - Railing corner piece x2 (N.B. Missing from my set, not vital but nice if you have them)
These 4 pieces form a safety rail next to the hole over the main gate.
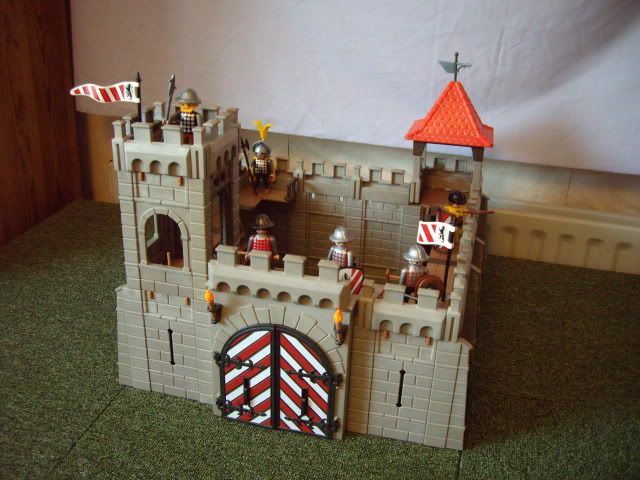
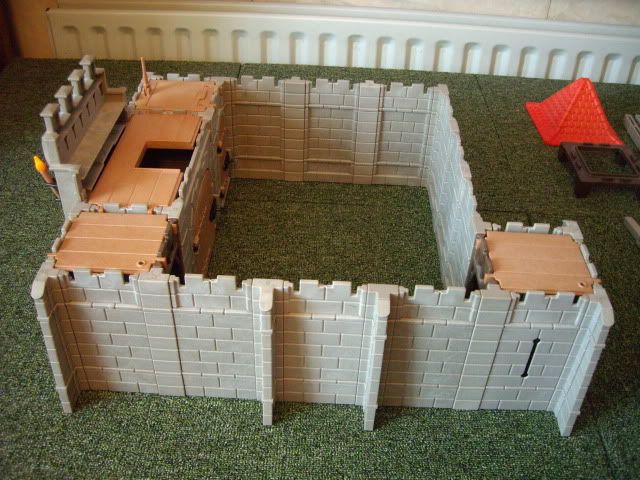
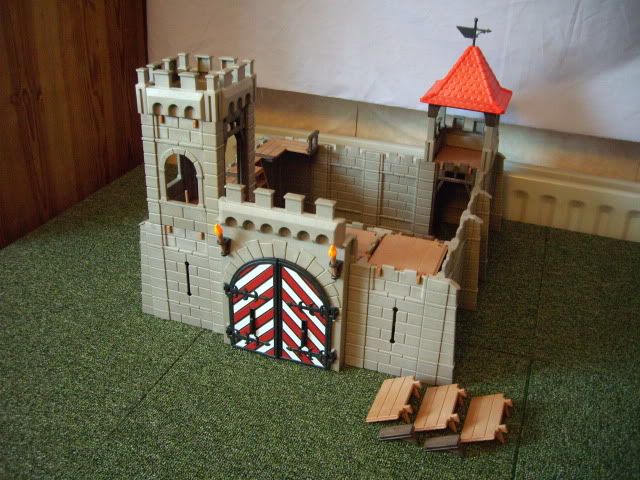
Front Wall & Gate Assembly
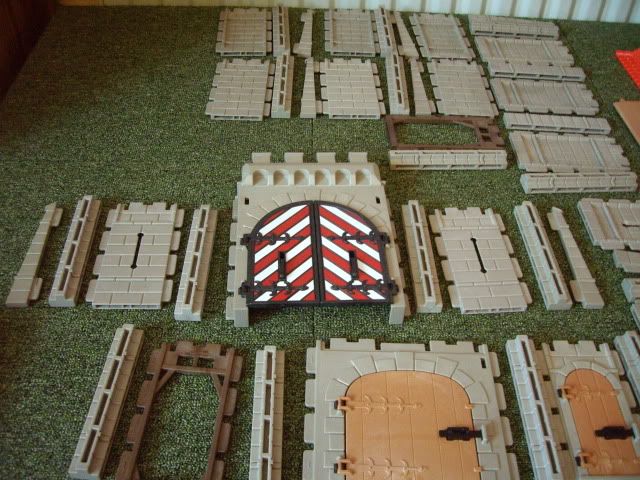
4 solid walls to connect front wall to inner gate wall.
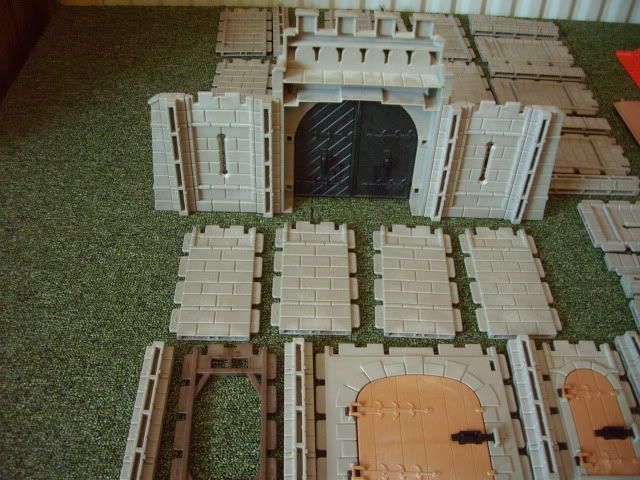
Inner Gate assembly
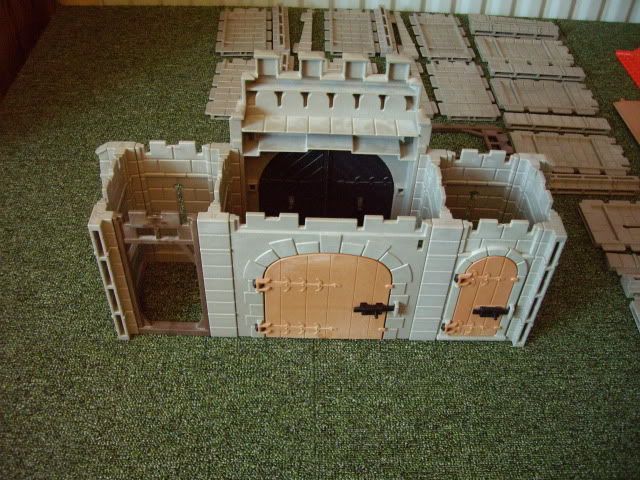
in place

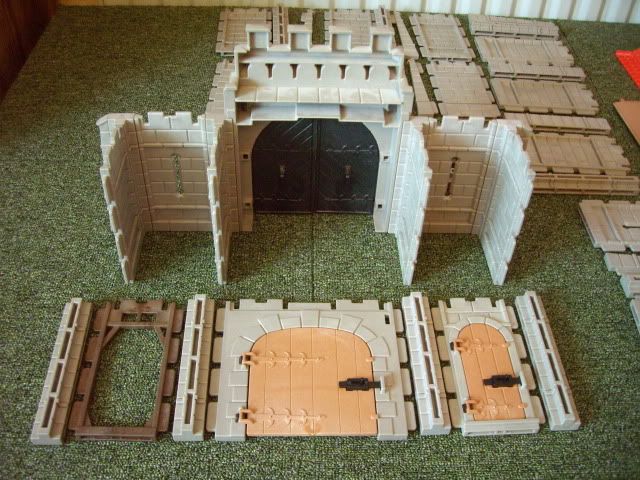
torches & brackets, & door bar brackets added
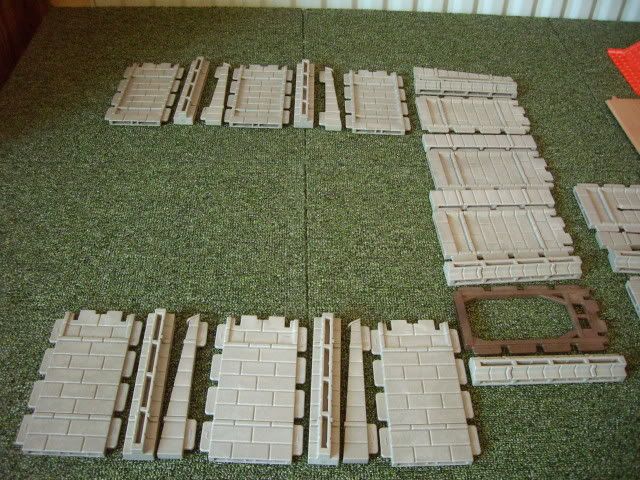
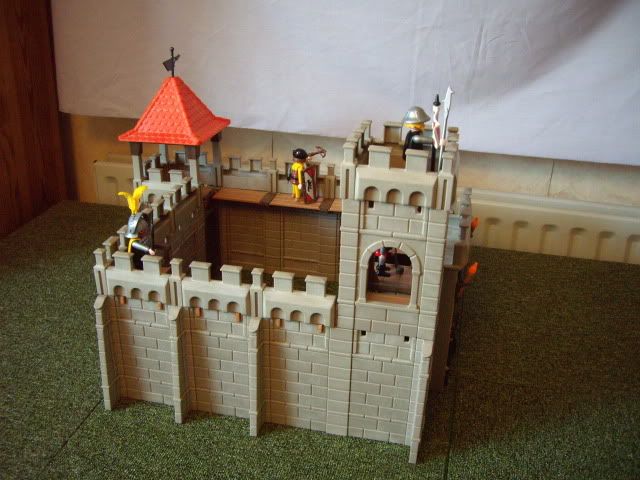
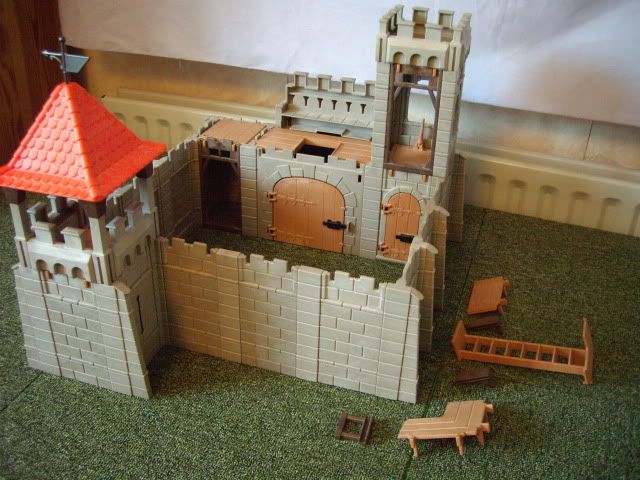
left, right and back wall sections laid out ready to assemble
rear tower ground floor laid out. This is where I am using my 2 spare arrowslit walls, but the plans call for solid walls.
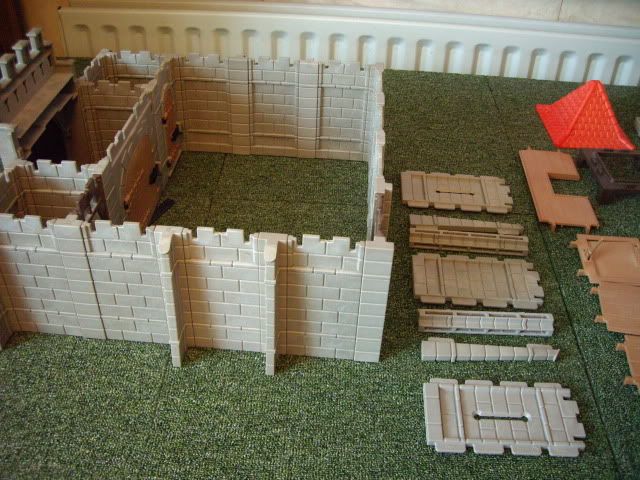
floor sections laid ready to drop in
dropped in, ground floor finished
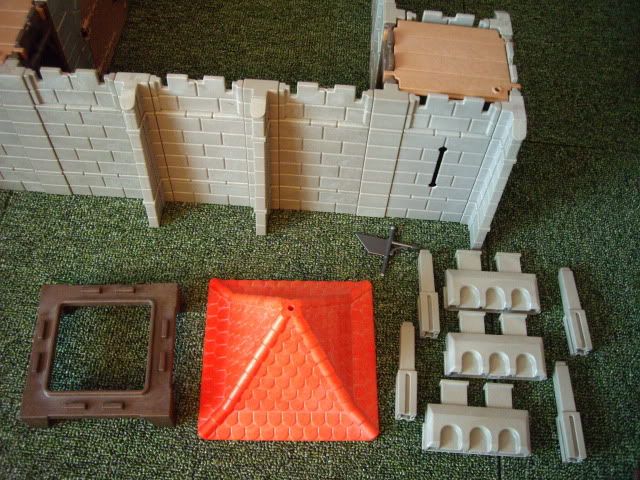
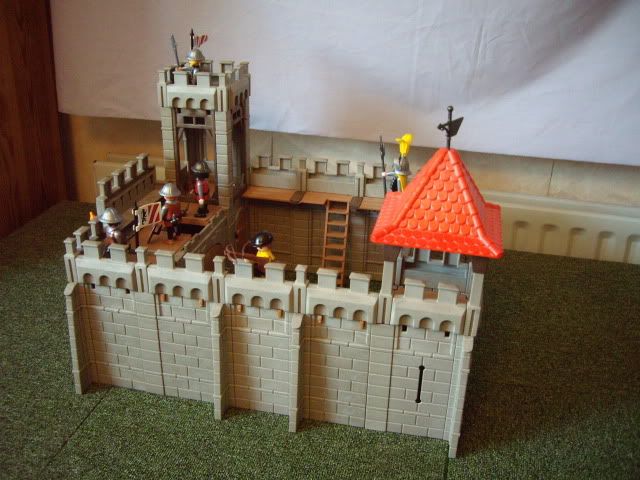
small tower pieces laid ready to assemble

and part way assembled. Pop on the legs, roof and weather vane to complete. It's actually best to put this section on last after the battlement walls shown later to get the connectors to slide in easily.
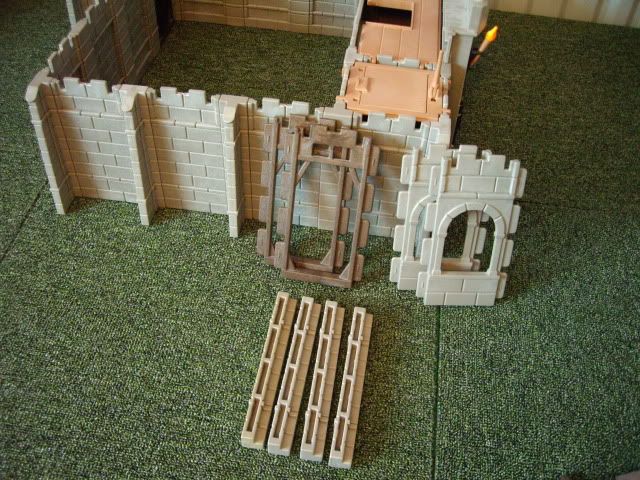
Front tower pieces ready to assemble
assembled, with top floor & battlements ready to pop on. The tower battlements comprise
four
30 07 6770 - Battlement connector, new-style (flat bottom) and
four
30 07 6810 - Battlement, scalloped front, 1 unit wide connected in a square.
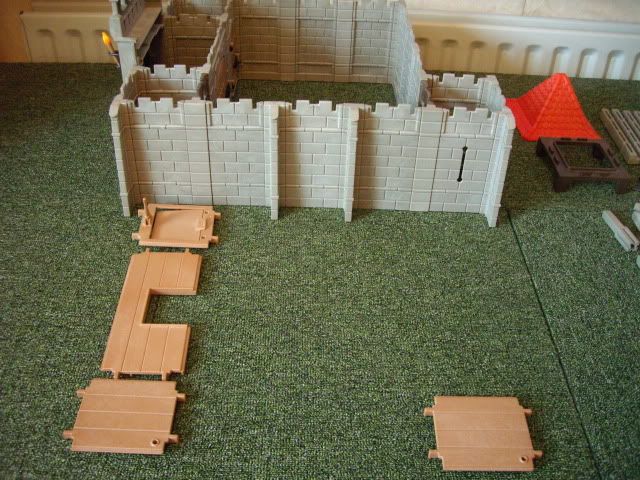
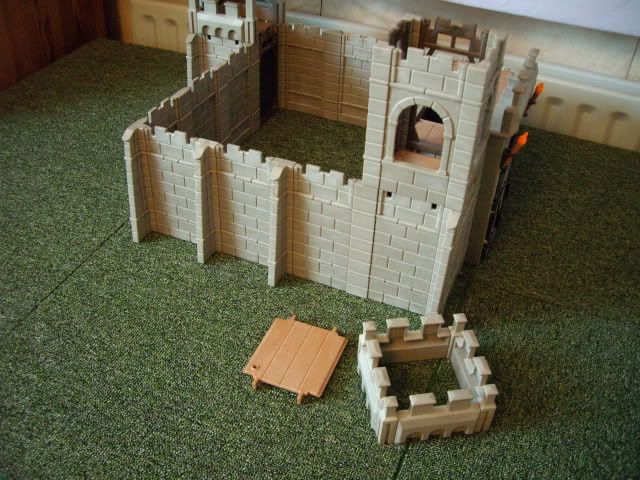
Front tower finished, left wall walkway ready to drop in. Put in the stairs and floors first, then slide the 2 brown connector-supports into place.
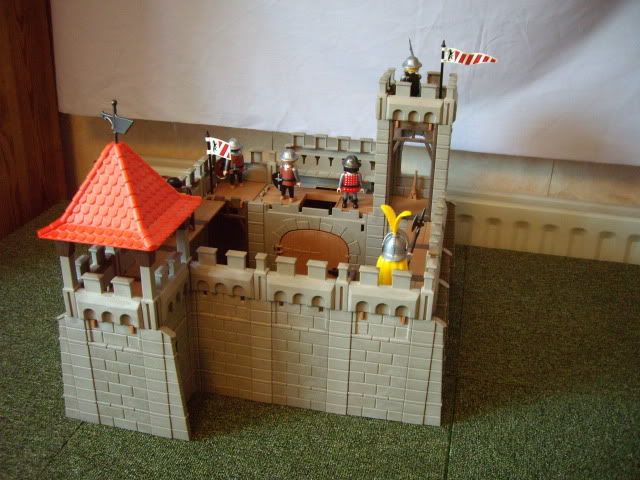
right wall walkway ready to drop in.
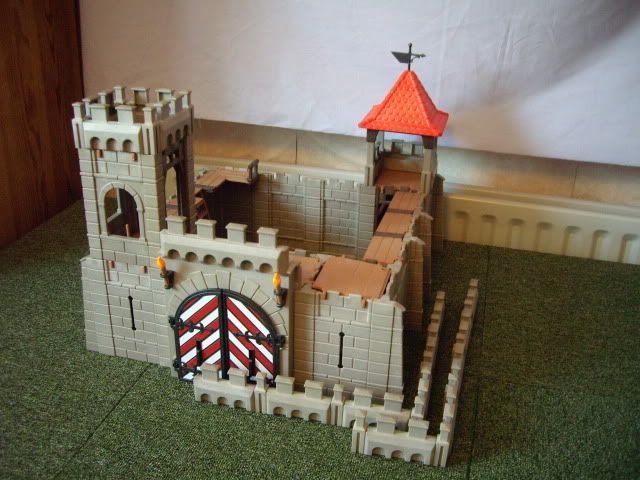
Battlements assembled ready to put on. The left/rear wall battlement is a 3x3 L shape, the front/right is 1x4.