LIGHTING
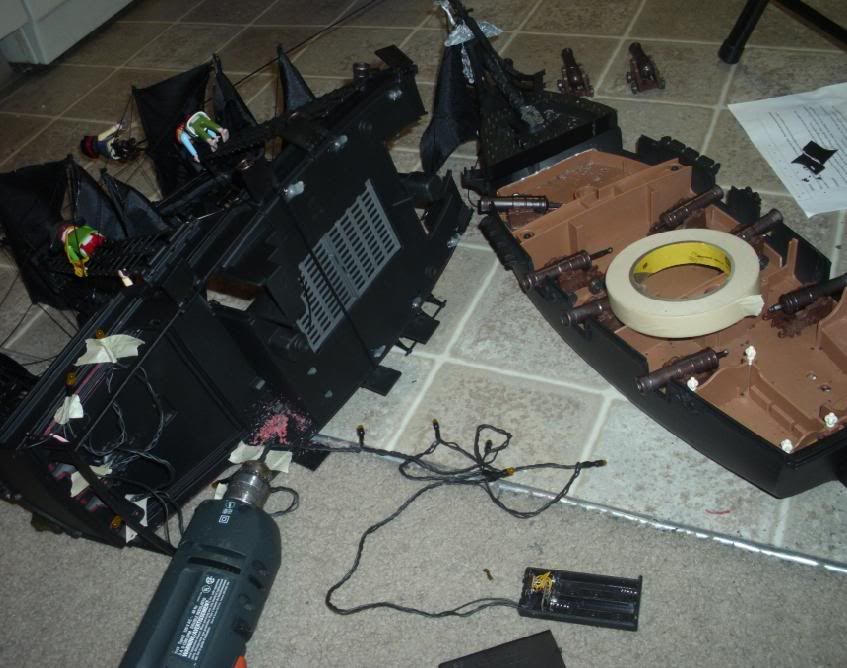
Ok, here are some pics of the lighting installation. It was quite tedious. As it was recently Halloween, I picked up a pack of mini Halloween LED lights. The lights are battery operated with a candle life of over 10,000 hours per light, and can last with the battery continuously on for several days without having to change the batteries. The lights came prewired to a battery box and features a switch that has 3 positions: 1)on, 2)off, and 3)alternating blinking pattern. The blinking pattern makes every other light turn off while the corresponding every even light turns on, and then vice versa. A cool feature, but not really practical unless the pirates are throwing a disco party, lol.
A few challenges presented itself, including finding a spot for the battery compartment accesss, installing the stern lanterns, and drilling holes to string the wiring throughout the ship. The most tedious of tasks was to strip, splice, and solder the wires together in such a tiny space with all the rigging and masts in the way. In hindsight I would have installed the wiring before doing the rigging.
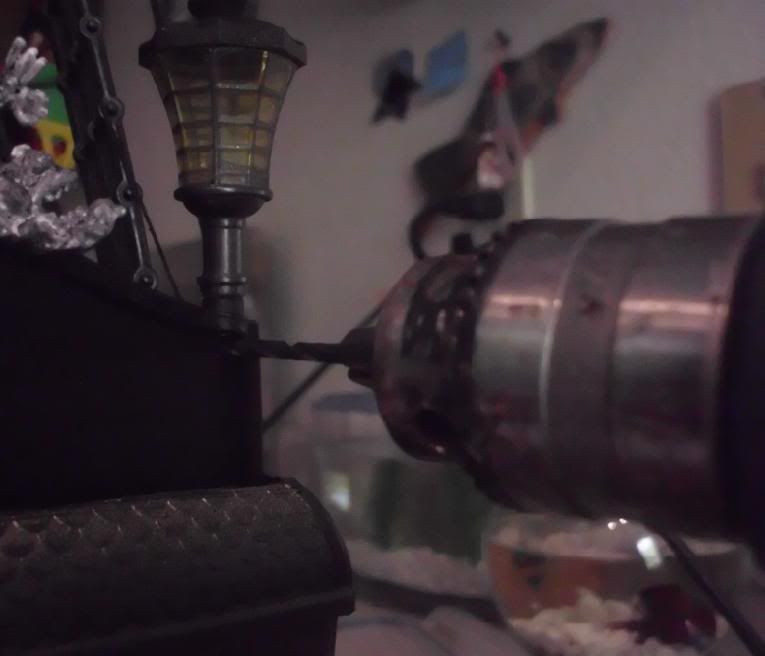
First step was to install the mounts for the stern lanterns. This involved drilling out the existing peg holes at the stern of the ship so that they would be big enough to accept brass metal rods used to mount the lanterns. The lanterns are from the MegaBloks Black Pearl ship parts. I also had to drill out the lantern posts to accept the same brass rods. The final mount is very sturdy:

Next, I had to drill tiny holes in the stern for the wires to go through:
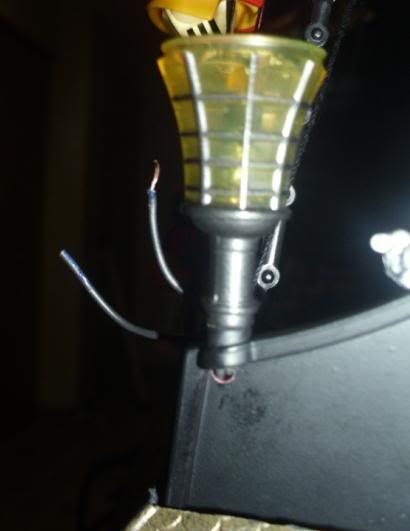
Here you can see one of the LED lights test-mounted inside the lantern, and the wires pulled through the hollow brass tube and through the hole drilled in the stern:

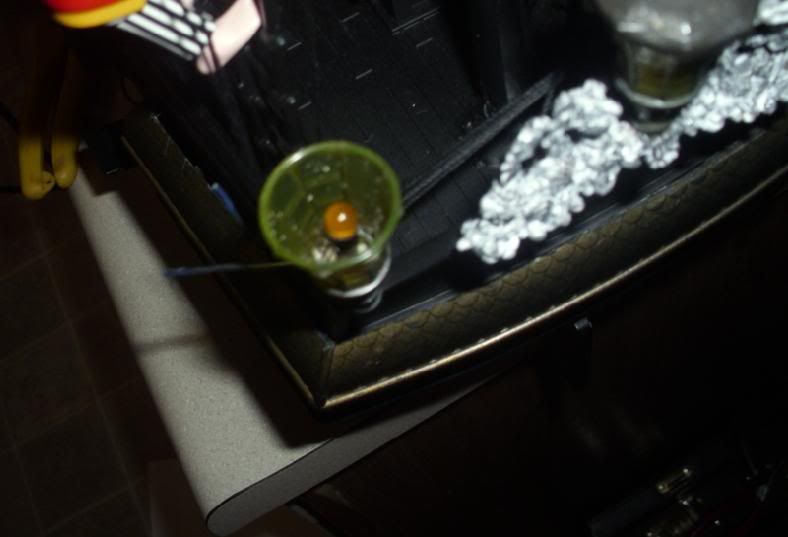
Top view of LED light mounted:
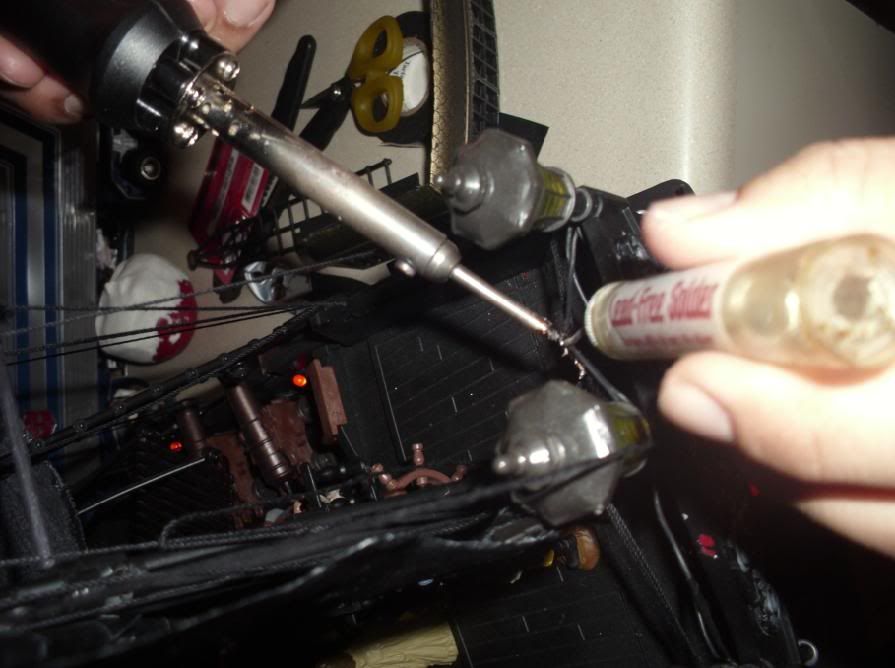
Now to strip these tiny wires. Much finesse has to be exercised when stripping such small wires so not as to stretch the copper and cause internal breaks within the wire that are hard to detect beneath the insulation and can cause fraying and/or bad connections. Must take your time and do it right, because it is very difficult to take it all apart again later if one of your lights goes out due to poor wiring technique:
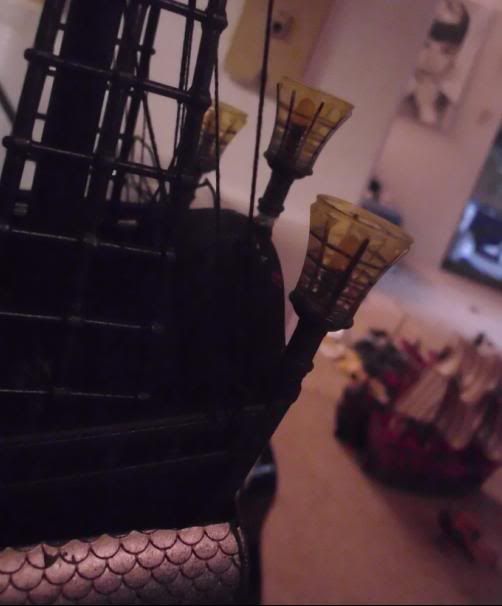
All three lanterns done. (you can see my other ship and my Audrey Hepburn portrait in the background

THE CAPTAIN’S CABIN: The captain’s cabin windows are smoked as I wanted there to be the appearance of light filtering through the windows. I added additional lighting in the cabin by placing LED lights along the perimiter of the cabin gallery windows as well:

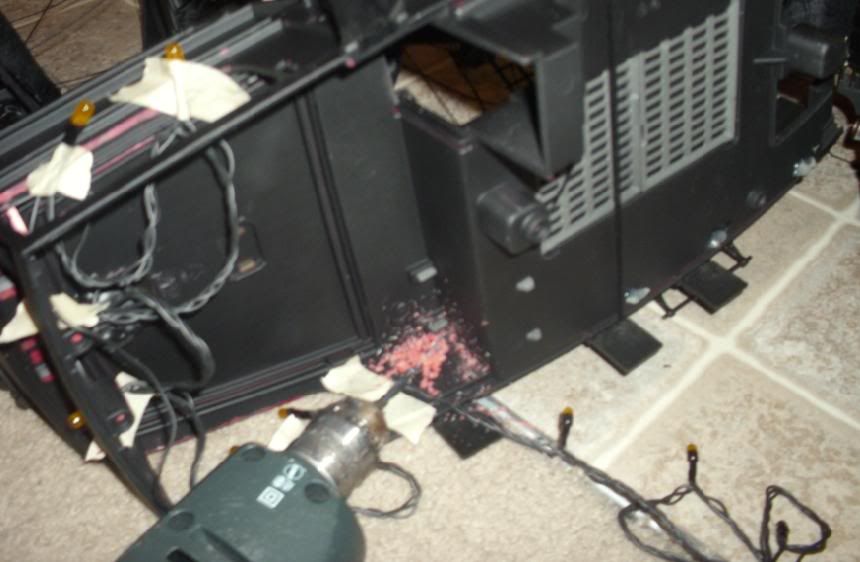
There is lighting installed throughout the rest of the ship on the main deck (the real Black Pearl features torches on deck). All of the lights, including the stern lanterns, the captain’s cabin, and the on-deck torches are all inter-connected (each light is connected to 3 wires leading to the other lights.) I had to disassemble the entire hull (which was a bloody mess) and drill holes to wire the lights through.
For proper connections, the spliced wires were painstakingly soldered together with a soldering iron by hand. Very tight squeeze with all the masts and rigging in the way. Again, in hindsight, I would have done the wiring beforehand next time.
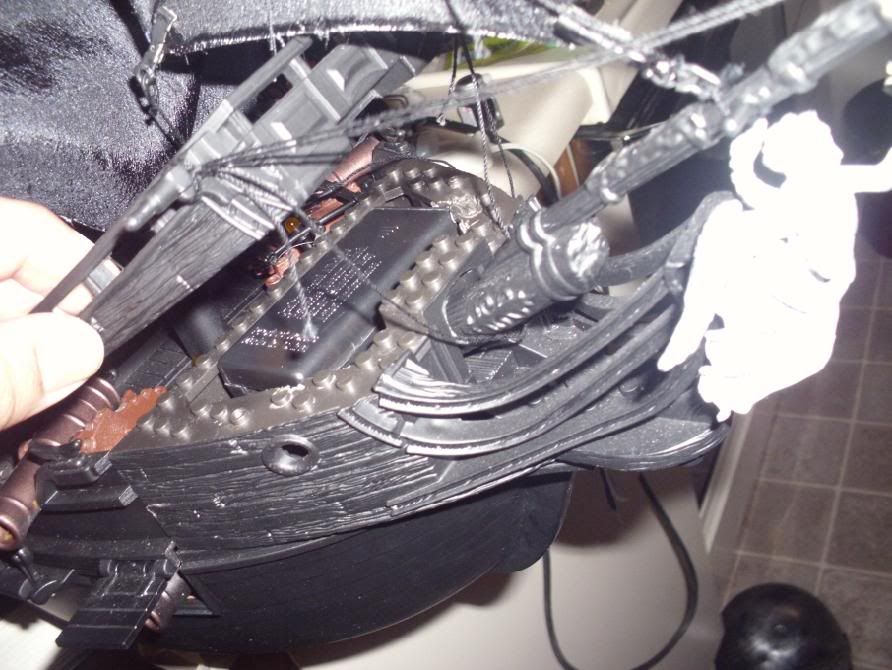
Here is the mess of wires as neat as I could get them after wiring the stern lanterns. They wires go through from the outer wall onto the poopdeck. An ugly mess.
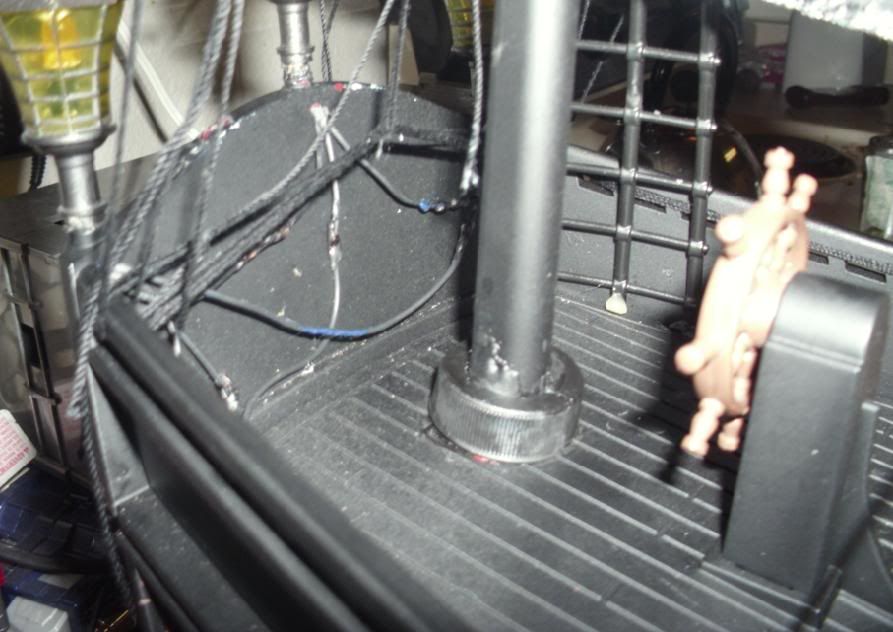
To clean this mess up a bit, I fashioned a custom panel made from sheet styrene to cover up the exposed wires. Here it is being test-fit before painting:
Lastly, I was very happy to find a very convenient place to house the battery compartment: the forcastle galley! The forcastle was mainly there for looks, initially, and I was sort of disappointed that it served no other purpose until I realized that the space inside the forecastle was EXACTLY the right size for the battery pack! So here it fits as if the universe meant it to be!
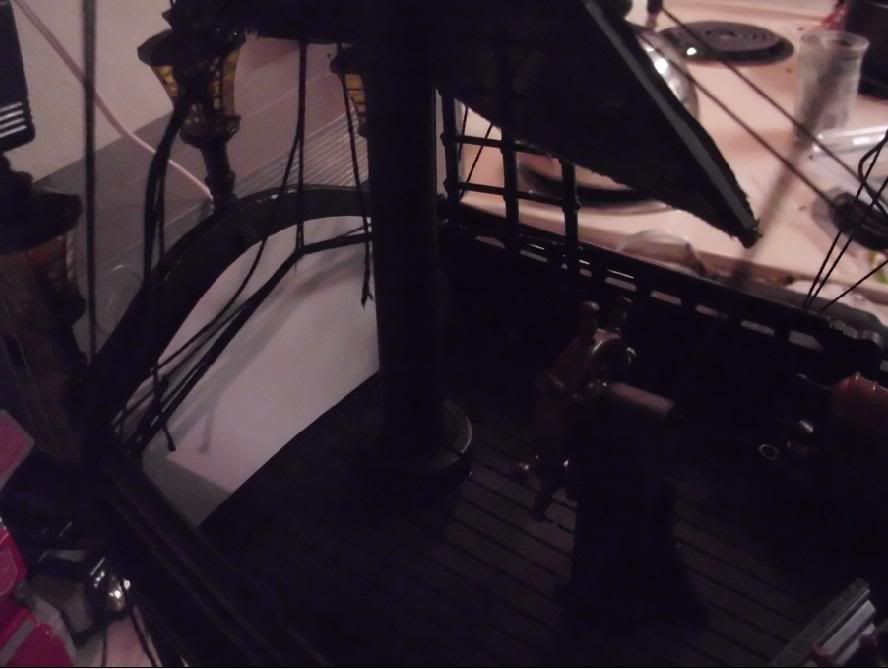
And finally, without giving away the whole picture, a test of the lights before assembling it all together completely. They work!:

Very happy with mine lights so far.